we r memory keepers button maker review and tutorial
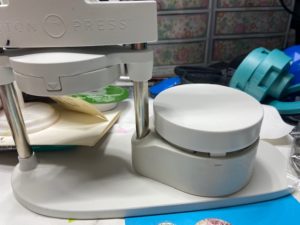
After unboxing the unit, install the handle then put the large white die plates into place. This acts as a platform for the paper and the actual die to cut your paper. Alternatively you can use an electronic die cutter or punch to cut the shape to the desired size
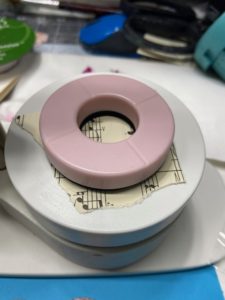
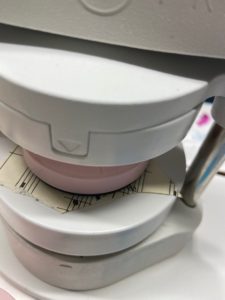
The machine comes with three sizes of button press plates. Shown above is the smallest. On the left the paper is under the die on the right it is under the two plates so that the machine will cut the circle.
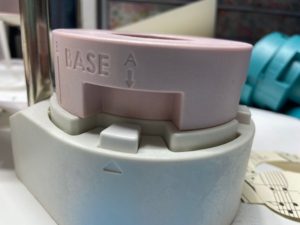
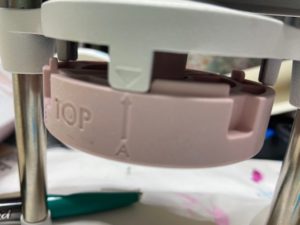
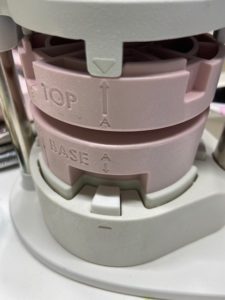
place the desired button plate into the machine being sure to line up the arrows to “A”.
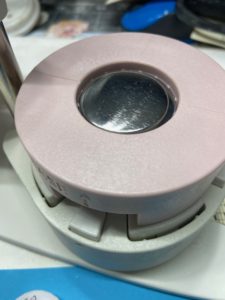
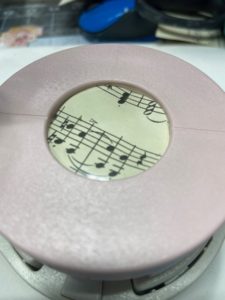
Place the domed disk into the bottom assembly then place the material you’re using for the button and some Mylar into place. Make sure everything is lining up with the “A”.
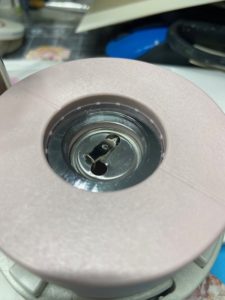
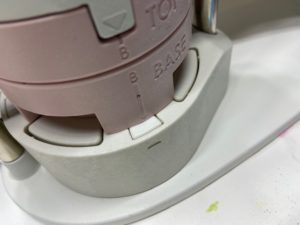
Firmly press the lever down you will hear a click as the machine does its magic. Swivel the base piece back out you’ll notice your button is missing. Add the back to the bottom plate and turn it so the “B” is clearly visible. The pin back can be lined up using the guides on the bottom plate.
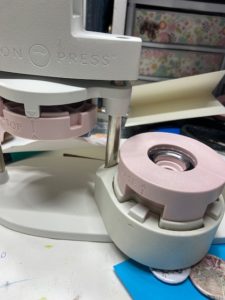
Pictures of the bottom plate and bottom plate with the pin back into place.
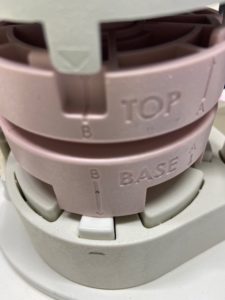
Close up shots of how the base should look. Press the handle down firmly and this will attach the back to your button. Swivel the base unit back out and remove your pin. Enjoy!
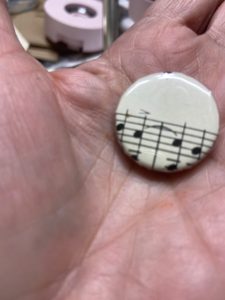
This is the finished button. For my visual learners, here is a video:
Until next time, stamp happy and be a blessing!!
