Sublimation using a Pancake Skillet?! Ya Betcha!
#craftfair, #cricut, #jennifermaker, #newtechnique, #Sublimation 0
Email: info@lorettardoger.com (c) 2024 all rights reserved
https://amzn.to/3ZbOqXV Griddle
https://amzn.to/3ZfhiOM Air freshener sublimation blank
https://amzn.to/3ZfSCWE bookmark sublimation blank
https://amzn.to/4grX1vQ Sublimation paper
https://amzn.to/4guUa5p Double sided keychain sublimation
blank not shown in video https://amzn.to/3Zd3xAb Sublimation clock
https://amzn.to/3Zf1SKq Sublimation coasters blanks
https://amzn.to/4cT3Mnb Car Sublimation blanks
When working with sublimation, it is paramount to make sure the area is well ventilated, and you use reasonable caution when working with materials.
When sublimating the coasters, be sure to apply the paper to the shiny side of the coaster and place it paper side down in the skillet. I weight mine down with a couple of other coasters. Let it stay in the skillet for 2 minutes. Carefully remove it and put it aside to cool.
For the bookmark, tape down the paper to the white sublimation blank, and place the paper side down and weight the piece down. It will need to stay in the closed skillet for 1 minute 30 seconds.
For the Car coaster, the instructions are the same. Place the sublimation printed paper on the white side of the blank, tape it into place and put it inside the skillet. Weight it down. Place it inside of the skillet and allow it to sit for 2 minutes.
These times may vary by the type of skillet you use, I recommend some experimentation. This is super easy to use, doesn’t require any additional “fancy” equipment and the results are stunning!
Please email questions to me at: Info@LorettaRodger.com or leave them as a comment. Please note due to some recent attempts at hacking my website, I am now moderating all comments. Please let me know if you try this for yourself and how it turns out. Feel free to send me a video, or blog link. If I approve it, I will feature it!
Until Next time, Stamp Happy and be a blessing!
Cards for family
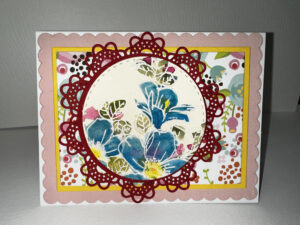
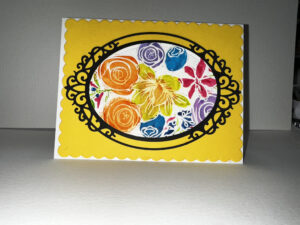
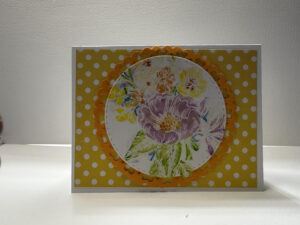
Life is always surprising me with the twists and turns it makes.
I’ve made these 4 simple yet elegant cards for three ladies whom are precious to me.
I am reminded that when men (or women) aim to deceive, mislead or otherwise be intentionally mean, that God will turn it around for his good and glory.
I made three sets of 4 cards each along with some small journals and packaged them with coordinating paper.
I am hoping that these three precious ladies will realize that they are enough, precious, and most of all loved and appreciated.
Until next time,
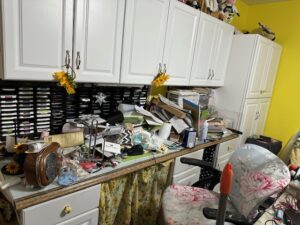
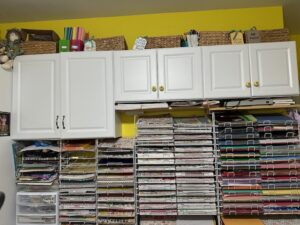
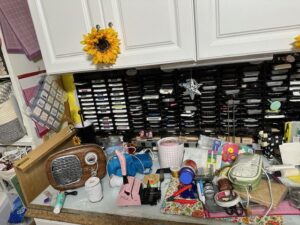
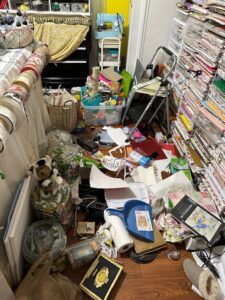
Craft Room Hoarding – the journey
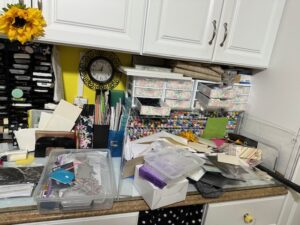
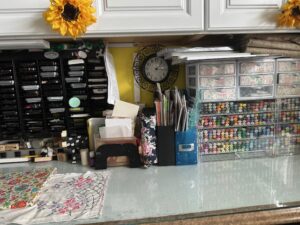
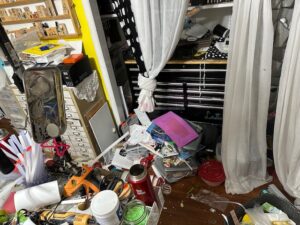
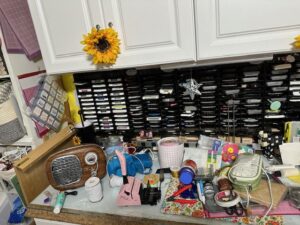
Coas, yes that is a great description of my craft room.
Wait a minute, Loretta, isn’t it true that this seems to be a constant struggle? Honestly, the answer is yes.
I can give you many excuses. However, the voice of my own husband echos in my head “The maximum range of an excuse is zero meters”.
I can be honest, there is a hindrance to “progress”. I had an open Gastroscopy with Rue N Y reconstruction, para-esophageal hernia and diaphragmatic hernia repairs. Four surgeons and nearly 6 hours in the OR. Not to mention the 6 day inpatient stay. If that wasn’t enough I developed a fistula (opening at the surgical sight) that landed me in the Critical care unit at #Vanderbilt for an additional 8 days.
I am still in recovery mode and have a home-health nurse who monitors my progress weekly.
I’m unable to lift anything heavy. Meaning I spend a lot of time on my butt on the floor sorting crap, putting away items and taking out the trash.
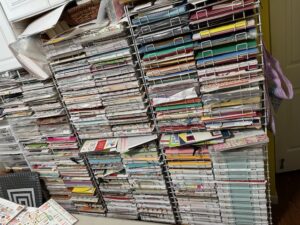
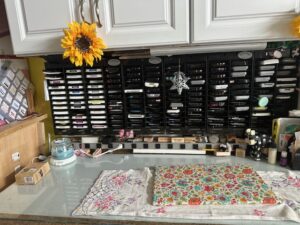
I am trying to be mindful of where the craft items will live. To purposely assign like items a home while striving to have a space that I’d be proud to “show off”. I did a major purge of scrapbook paper, donating approximately 120 pounds.
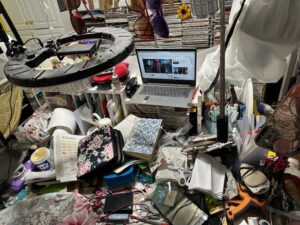
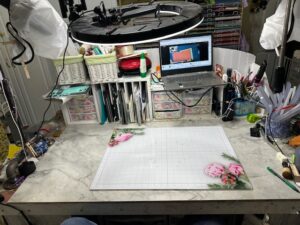
One of my biggest changes in the last year or so is the overhead camera sled built for me by my husband with 3/4″ black iron pipes and fittings. Easy enough to assemble. I re-used a light fixture that is meant for kitchen track lighting and also use a ring light for overhead video production.
Here are some before, during and after pictures of the space. One day I’ll actually learn to put these in a more cohesive order.
Until next time, stamp happy and be a blessing!
Time for a Christmas Project! Mitten notepad!
#Mitten, #notepad, #TheAtfulRodger, Christmas 0
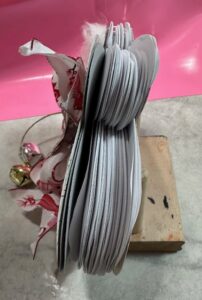
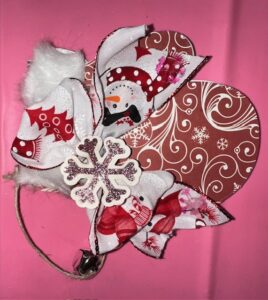
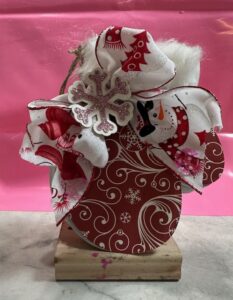
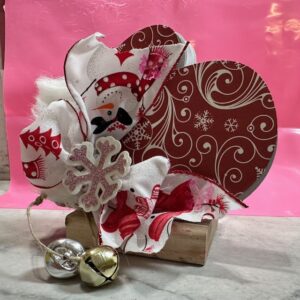
Today’s project is adorable. I purchased these mitten dies from The Stamps of Life.
To make this project, I simply cut copy paper with the smallest layering die, then the covers from the largest. I also decided to give htis a binding with some “o” wires.
Decorated one side more than another using some faux fur, ribbon, and jingle bells. What would the holidays be without jingle bells?
Be sure to keep things lined up if you decide to make this with the binding wires. I made a template with some lightweight cardstock. Then I marked my Bind-it-all machine so that each time I cut, it would be lined up each and every time.
If you do not want to cut all the paper, alternatively you may choose to use the outside pieces as shown here and attach a simple sticky note pad inside. Since the sticky notes come in different sizes, colors and shapes. I will package these along with a small ink pen to give as small gifts or random acts of kindness.
Until next time, stamp happy and be a blessing!
